Showing posts with label rose. Show all posts

Wednesday, February 20, 2013

Duct Tape Flower #3 Tutorial

Here is another Duct Tape Flower Tutorial for you to enjoy! The center of this flower is exactly the same as our tutorial for A Small Duct Tape Rose, so if you know how to make that- then you will be golden when you make these!


What you Need:
Duct Tape
Wire
Wire Cutters
Scissors
Cutting Mat or Ruler


                                                                         Step 1:
Measure out a strip of Duct Tape 8 inches long 

Step 2:
Cut the tape in half so that you have 2 strips of 8 inches

Step 3: 
Cut about 1 inch by 1 inch squares from the 2 strips of tape

Step 4
Flip the a square over and fold one corner down so that you have an "L" of sticky side remaining

Step 5:
 Fold down the other corner so that you have a triangle with a base of exposed adhesive 

Step 6:
Continue doing this to all of your squares

Step 7:
Take one of your triangles and roll it so that it forms a cylinder shape. 
 

Step 8:
Begin to add the rest of the triangles onto your center. (Please excuse the awful looking nails- I almost went and repainted them just so that I could take this photo...but i didn't)
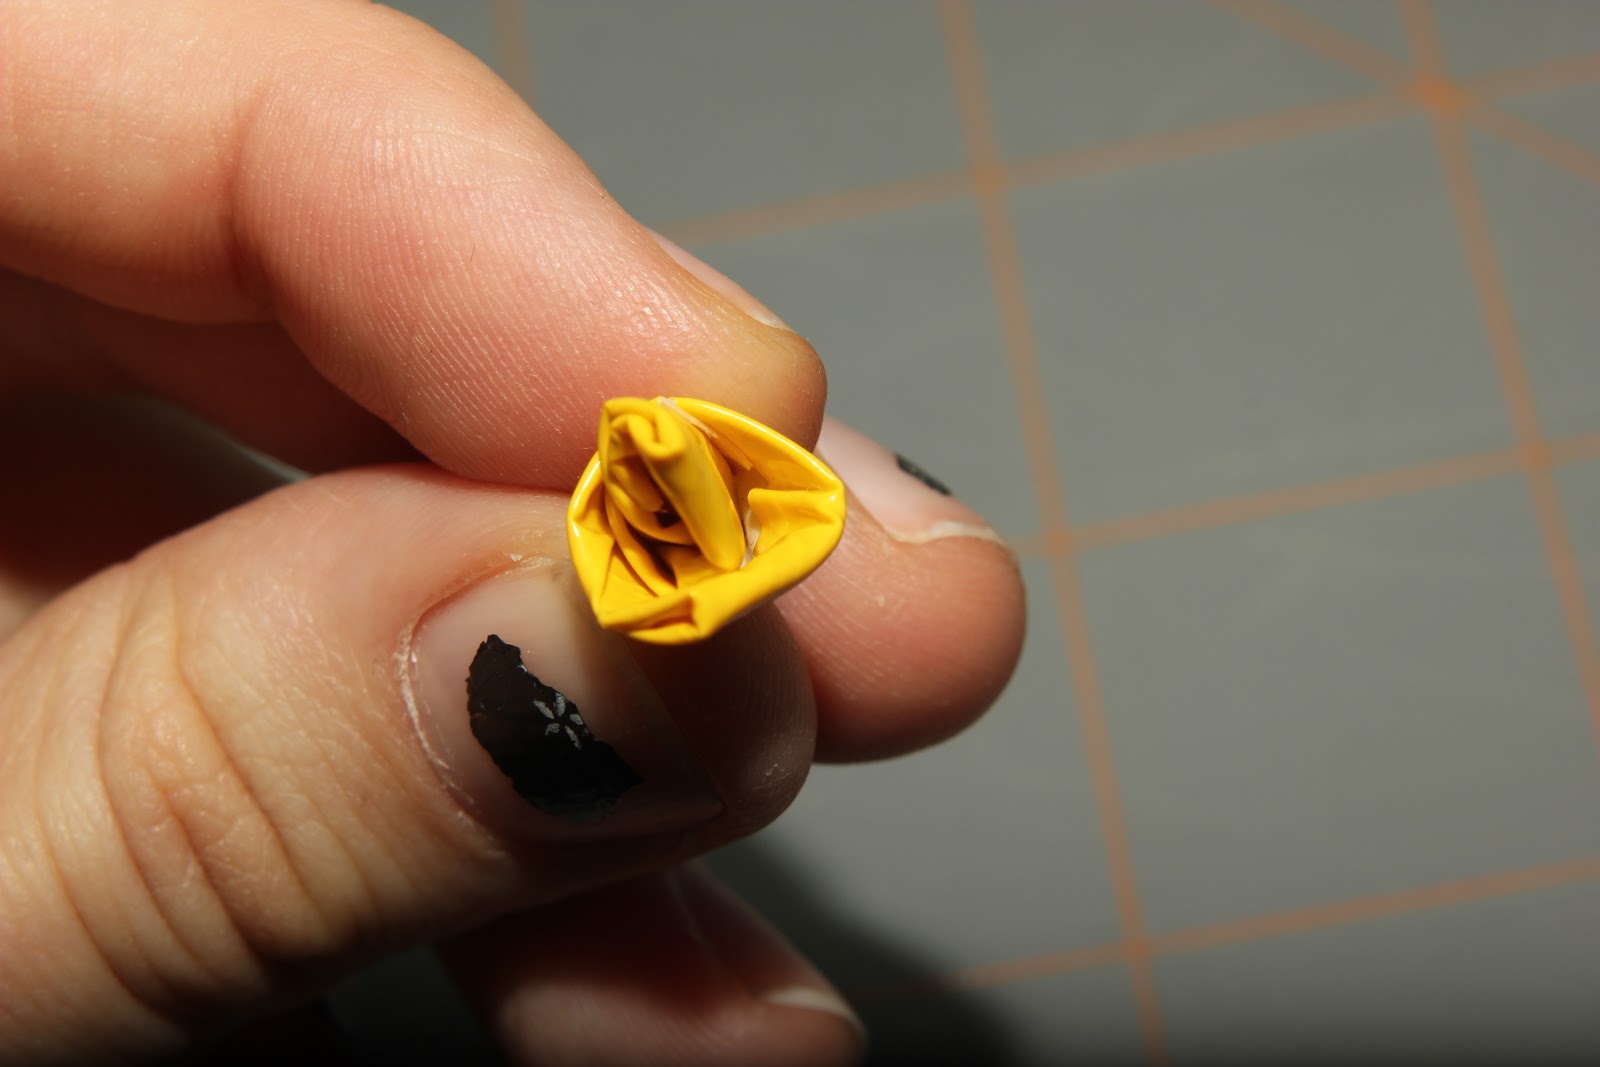
Step 9:
Add the remaining Petals/triangles on to get a small rose.

Step 10:
Set your center rose aside and cut 5 strips of tape about 7 inches long 

Step 11:
Cut 5 pieces of wire about 3 1/2 inches long and place one at the base of each strip of tape

Step 12:
Fold the tape in half over the wire- Your Edges do not need to be pretty as you will cut them next 

Step 13:
Cut a petal shape out of the duct tape leaving some adhesive at the bottom. Attach the petals to your center rose.
TADA! :) 

I hope your flowers turn out FANTASTIC! Feel free to send us photos or comments of how yours turned out! We would love to see them! 

~Sarah

Sunday, April 15, 2012

I baked a cake

So today was 2 of my friends from churches birthdays. So what did I do? I baked a cake! I split it in half so that they each had a side... :) they loved it and it tasted really good! :) Barbara likes to garden so I filled her side with flowers and on Bob's side I put a tennis court with a tennis net made out of melted chocolates because he likes to play tennis. What do you think?! ;)

The completed cake

my shirt looked like when I was done decorating and baking... I was a mess! :)

Barbara's Side of the cake
Bob's side of the cake
A close up on the tennis net I made. It stood up in the frosting and was made out of melted chocolates.

Friday, February 24, 2012

Small Duct Tape Rose Tutorial


So I previously posted pictures of my duct tapes flowers and someone commented saying they liked the small roses. So I made up this tutorial for you!

What you need:
  • Scissors or X-Acto Knife
  • Duct Tape
  • Ruler or Cutting Mat
  • Fingers

I used a X-acto Knife, and a cutting mat.

To Start- Rip/Cut a piece of Duct Tape off about 10 inches long


Cut the Strip of Duct Tape into about 1 inch by 1 inch squares


Fold the 1 corner of the duct tape on to the stick side so that it forms an "L" shape of sticky.


Fold the 1 of the stick sides onto the already folded duct tape. It will make a triangle of duct tape


Fold the rest of the Squares.


To start your duct tape rose, roll the 1 of the triangles into a cylinderish shape.


Keep adding petals around to form the flower. (It will take a few pictures for you to get your technique
mastered.)


Tada! You made a duct tape flower. To make a larger one, just make the squares bigger. Have Fun and Good luck!!!
Posted by Picasa