Saturday, January 26, 2013

Duct Tape Flower Tutorial


We received so many positive results from our last Duct Tape Flower Tutorial, that I sat down this morning and did a second one! So here you go!!!


What You Need:
Duct Tape (I used 2 colors)
Scissors
Ruler or Cutting Mat


Step 1:
Cut 10 strips of duct tape about 4 inches long


Step 2: 
Fold the duct tape in have with a small lip of sticky hanging out.


Step 3:
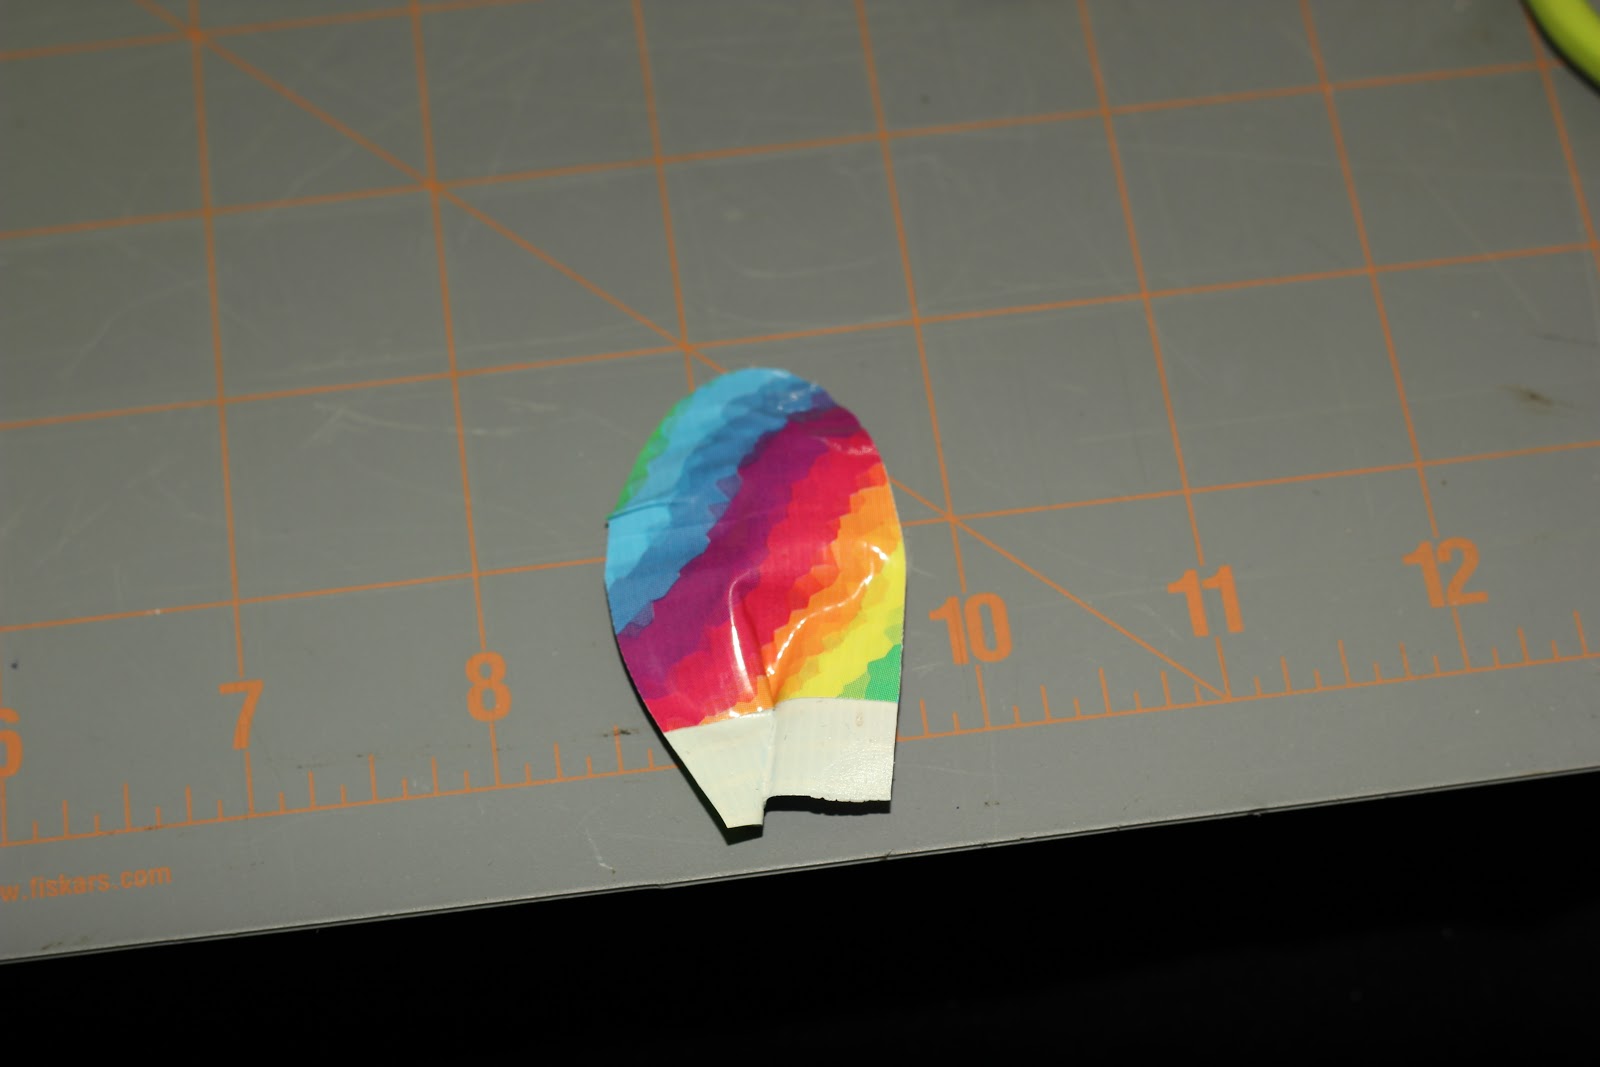
Cut a petal shape out of the duct tape.


Step 4:
Make a crease in the center of the petals


Step 5: 
Atatch 5 of the petals together.


Step 6:
Now cut about a 2 inch piece of tape in the color you want to be your flower's center.
Step 7: 
Cut a circle out of the tape

Step 8: 
Add the remaining petals

There you go! I hope you have a fantastic time making this and if you are so inclined- feel free to send us an email with a picture of how yours turned out! :) We would love to see it! Leave a Comment Down below and let us know what you want to see next!

~Sarah

Friday, January 11, 2013

Kiss Nail Dress Review

I recently received  Kiss Nail Dress in Babydoll to try and review from Influenster. At first glance I thought they were cute and could work. I have only used Nail Polish before and I was very intrigued by trying some of these stick and peels. When I took them out of the box, I was first overwhelmed by a Nail Polish smell- which I did not expect. I did not think that sticker nail designs would have a smell; but these do! They package comes with 28 strips, 1 nail file, and a Nail Design Booklet.

The Application Process was tedious but it was simple. It took me about a total of 30 minutes to apply the designs to my nails. The directions were clear and simple but like I said before- they are tedious to apply. The filing of them is probably what took the longest and the gems on each nail made them hard to file. Once I figured out how to do file the remaining off- it definitely went faster.

1 Hour after Application:
They nails Still smell but they are still on. The nails core colors are speckling already but are still holding strong. No major chips yet.

Next Morning:
They Lasted the Night! Wahoo! No major the chips and the smell has subsided!

2 Days Later:
They have chipped a minuscule amount and you cannot even tell that! I love looking at my nails- this is the longest my nails have stayed pretty!

5 Days Later:
OK one of my nails fell off but I am keeping the others on to see how long they will last. The minuscule chipping continues but still it is not very noticeable. Some of the jewels have fallen off but the you wouldn't know unless you touch the nail as Kiss has put Silver Sequins under each Gem so it still looks good!

7 Days Later:
Ok I finally peeled them off. I was tired of looking at the poor nail that didn't have one on it any more and the others had started to fall off. I am still very happy with the product as the packaging says it lasts up to 10 days and they made it 7! My nails don't normally allow nail polish to stick to it so I am very VERY Pleased with this product!

Overall:
I am very pleased with this product and have raved about it so much that I received another package for my Birthday! My nails are going to be styling! They chipped minimally compared to normal nail polish and I would certainly recommend these to any one who wants nice looking nails without the effort! Plus they are cheaper than going to a Salon!

~Sarah

I received this product from Influenster and this review is 100% my own opinion. I was not payed to write anything to sway you to one side or another.

Monday, January 7, 2013

Hiatus

Hello Readers!

I wanted to inform you, as it is only polite, that I have lots of posts in draft forms currently but due to the high pressure and stress that midterms bring- no new posts will be up until the weekend! I hopefully will have a new tutorial or 2 coming up by then based on the outstanding reactions I got to my last duct tape flower tutorial! So keep your eyes peeled for that!

Until this Weekend,
Sarah

Wednesday, December 26, 2012

Influenster!

So I just recieved my 2012 Holiday VoxBox! I am so excited! I joined Influenster about a month ago and just recieved my first samples! I did not expect to recieve them so fast- but no complaining here! :) I recieved 4 items and a Coupon Code! (You can see the video of me opening the box here!)

I recieved a package of Kiss Nail Dress in Babydoll. From first appearance- they look beautiful! I am very excited to try them out!

I recieved Quaker Real Medleys Oatmeal- Cherry Pistachio Flavored. I like oatmeal so I will taste test this- however cherries do make me sick- so I will avoid them.

I recieved NYC New York COlor Liquid Lipshine in color 582 Nude New York. I don't wear makeup so I give it to Sonja or my mom to try out.

I also recieved a Good QuilkStyle Paddle Brush. Sonja is very jealous. I think this will be very intreresting to try out.

Finally I recieved a coupon code for Sole Society. It states that I should share it with my friends- so I will share it with you all- my reader friends! INFLUENSTER25

Let me know if you are apart of Influenster and if you recieved this box as well!

Sarah


Tuesday, December 25, 2012

Sunday, December 23, 2012

Saturday, December 22, 2012

Korv Recipe

It is Christmas Time and for our family- That means it is time for a Smorgasbord! We invite all of my grandmothers family over and have a traditional Swedish Christmas! Sonja and My part of this huge feast is making the Korv, or Swedish Sausages. This year, Sonja was still in school so she sadly could not participate in the whole making ordeal, but I was able to and while doing so- I took pictures!

Here is the Recipe we follow:

1 lb Pork
1 lb Beef
4 Medium Potatoes
1 Medium Onion
1/4 tsp Ginger
1/2 tsp Allspice
1/4 tsp Pepper
1/4 tsp Cloves
1 tsp Sugar
1 tsp Salt

This is one (if not the only time) we use the KitchenAid. We use the the Food Grinder Accessory and the Sausage Stuffer.

First, mix the two different meats the potatoes, and the onion together by grinding them together in the large blade.

Next Stir in the remain ingredients and put through the large blade once again.

Then put them through the small blade for the final grinding.

Change the KitchenAid's Attachment to the Sausage Stuffer and slide your casing on. You will need about 6 feet of casing for all your sausages- however it will not fit on all at once. We found it easier to 3-4 sections. It is also important to cut string about 4 inches long to help your sausages hold there shape. We have been doing this for 4-5 years and we still need the string.

**You may find it helpful to have 2 people doing the next few steps- we use three people but you could probably manage with 2.**

Stuff the Sausages about 1 inch thick- or so and about 2-3 inches long.

At the end- send a piece of bread through the stuffer to get the remainder of the meat out.

To Cook- Simmer GENTLY for 45 minutes.

Enjoy!


Sarah